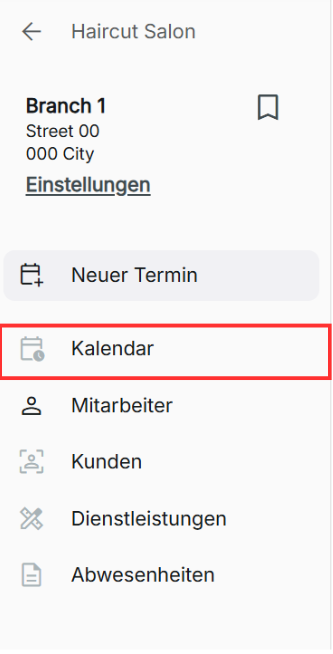
Calendar
In your calendar, you can view and manage your bookings. Appointments are set to be scheduled in every 15-minute time block. You can switch between viewing the calendar and appointment list in a branch by clicking the icon to toggle between them.
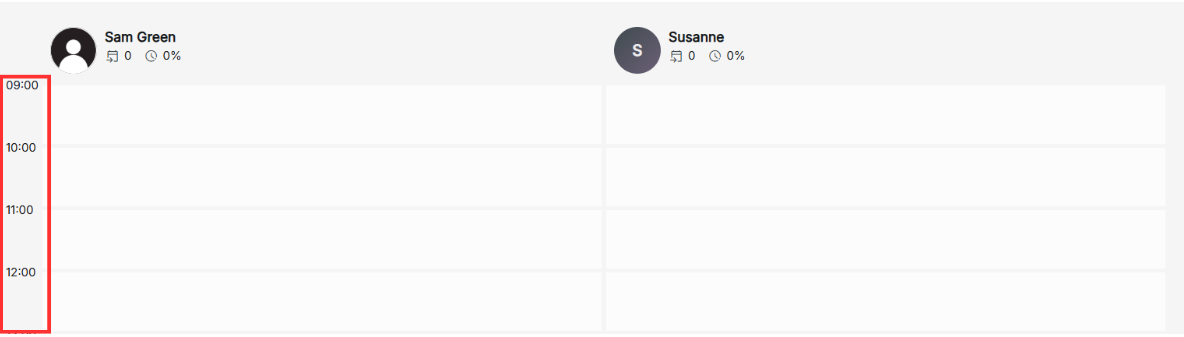
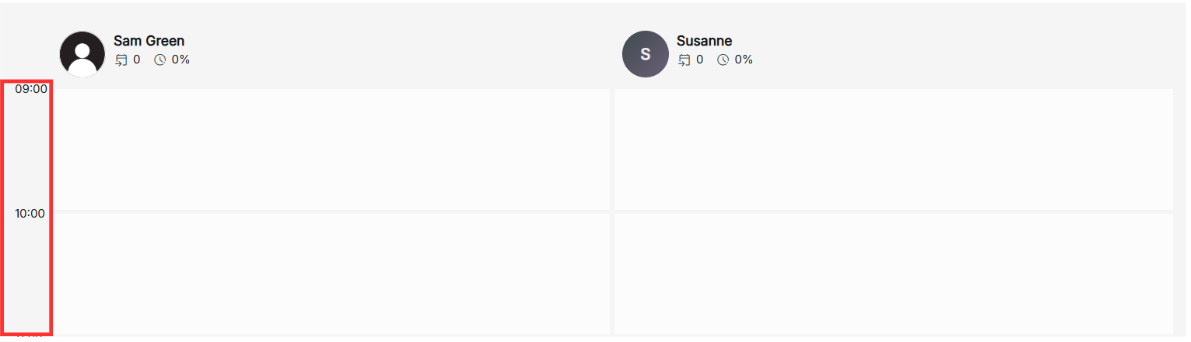
Adjusting the size of the calendar
You can resize every 30-minute interval time block in the calendar by hovering over the side of the calendar, then dragging and dropping to make them smaller or bigger. This will change the size of all the time blocks in your calendar across every shop branch in your organization.
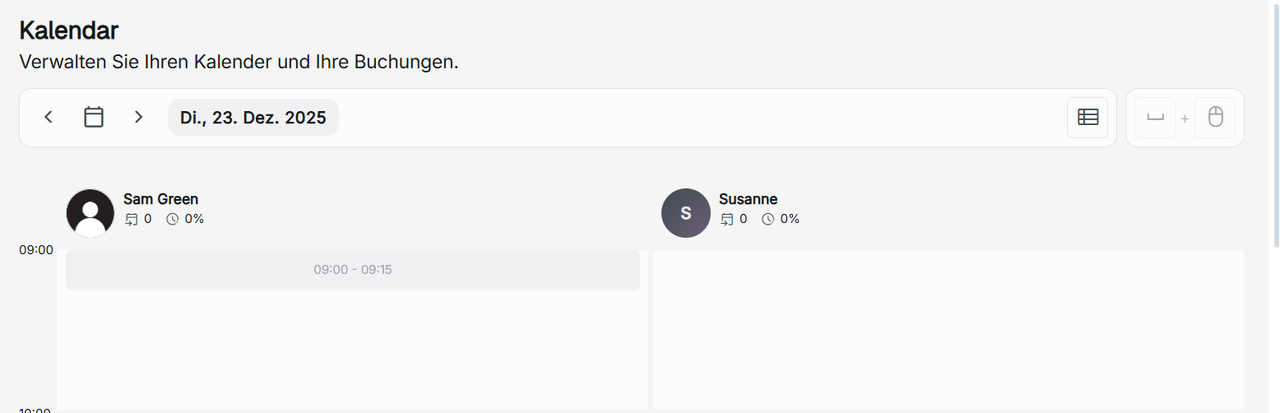
Viewing the Calendar
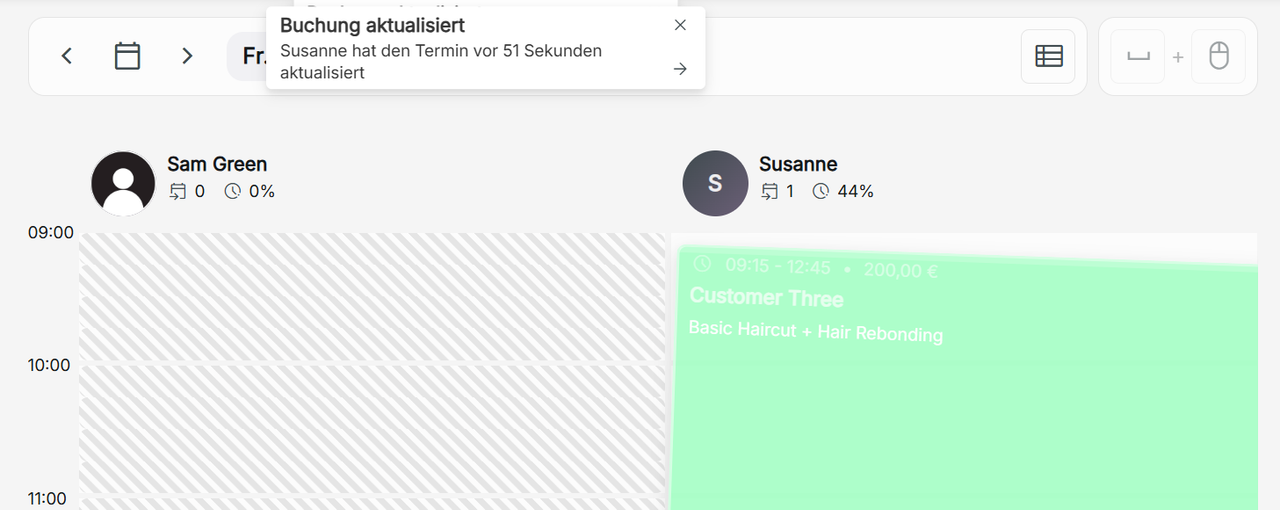
Calendar appointments update in real time with no refreshes needed with appointments created by both other staff in your branch and customers. A red line displaying the real current time on the current date will show.
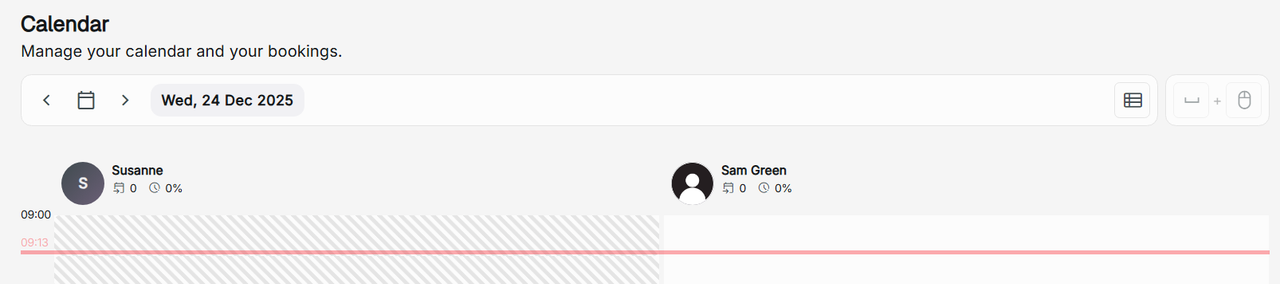
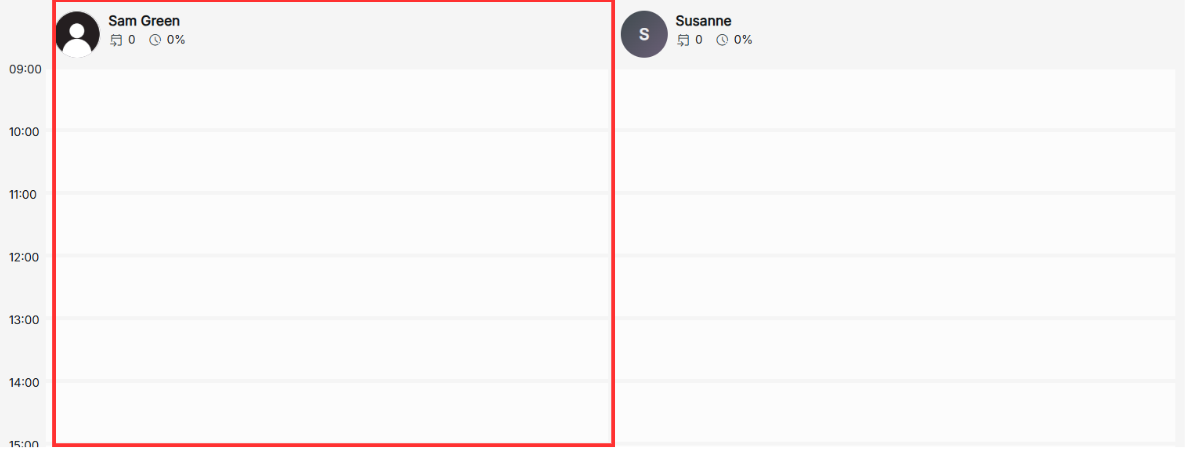
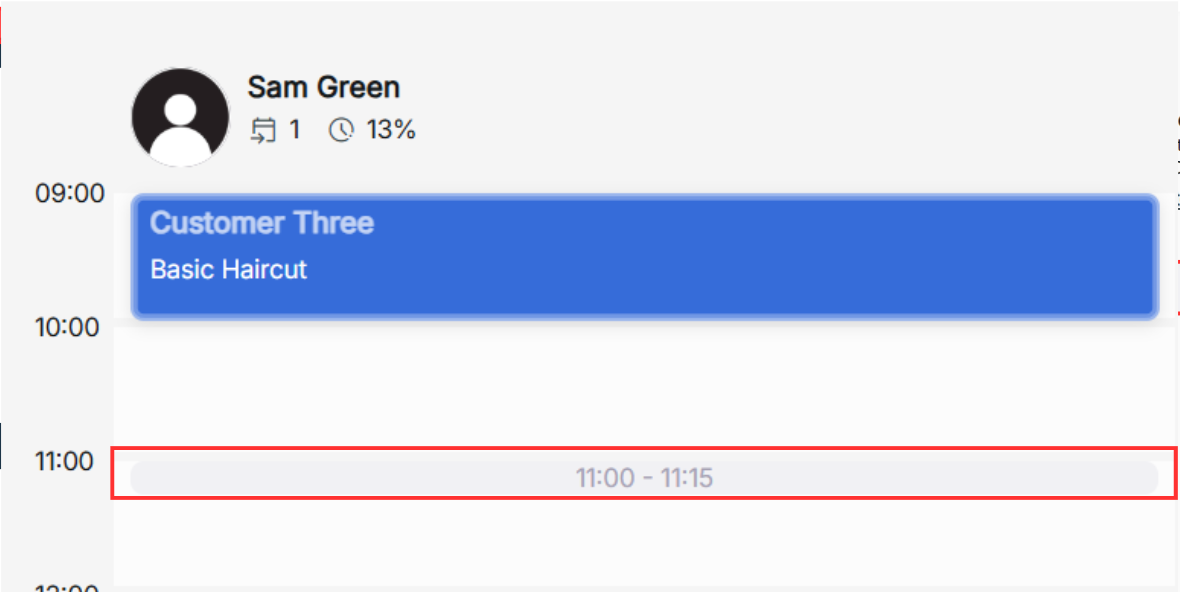
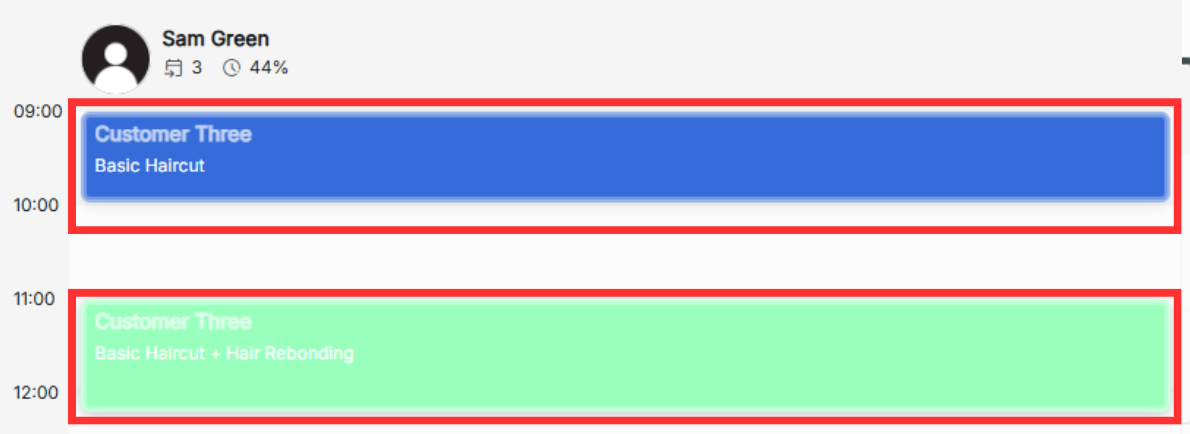
Each employee from the shop's branch has their own section of the calendar where they can view their booking hours schedule and set appointments.
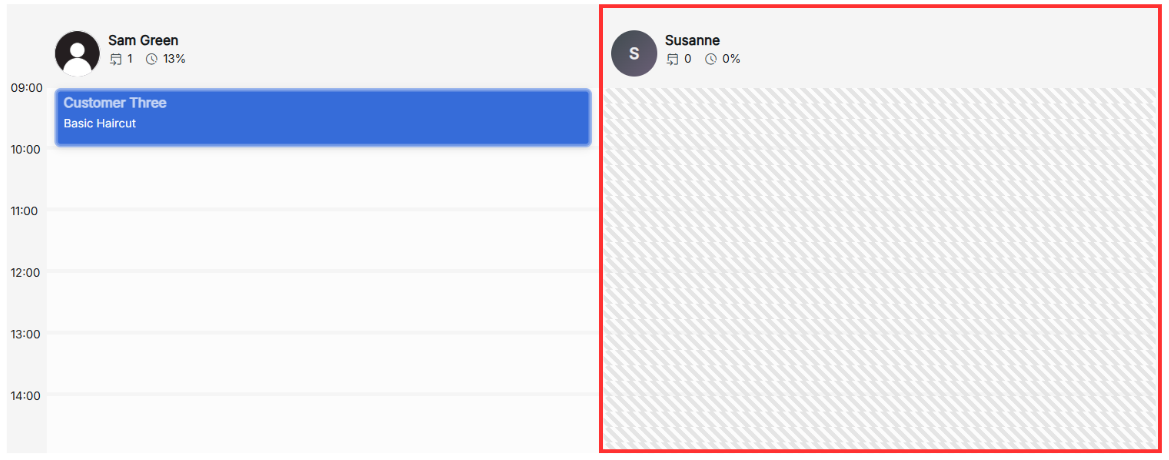
If someone is unavailable for a certain time period or day because of an absence request or booking hours, a blocked-out visual will be displayed, and no one will be able to book a schedule after when creating an appointment automatically.
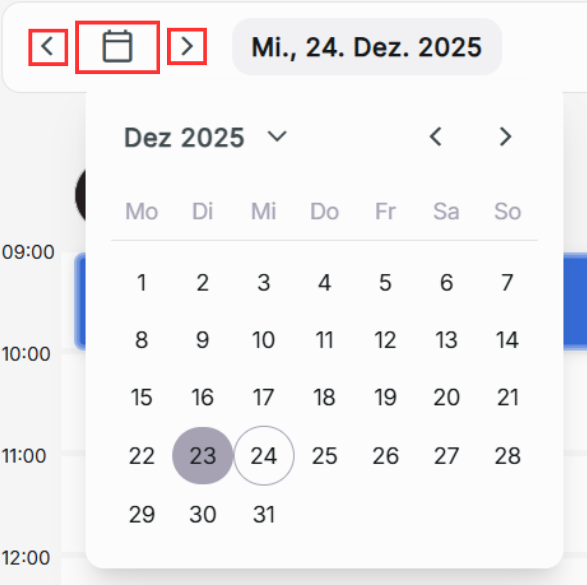
View different dates in your calendar
Either click the calendar icon to select the date to change to, or click the arrows next to the calendar icon to navigate forwards and backwards through the different days.
I cannot see my calendar and bookings
If you are unable to view the calendar, there are no operating business hours on the current date selected.
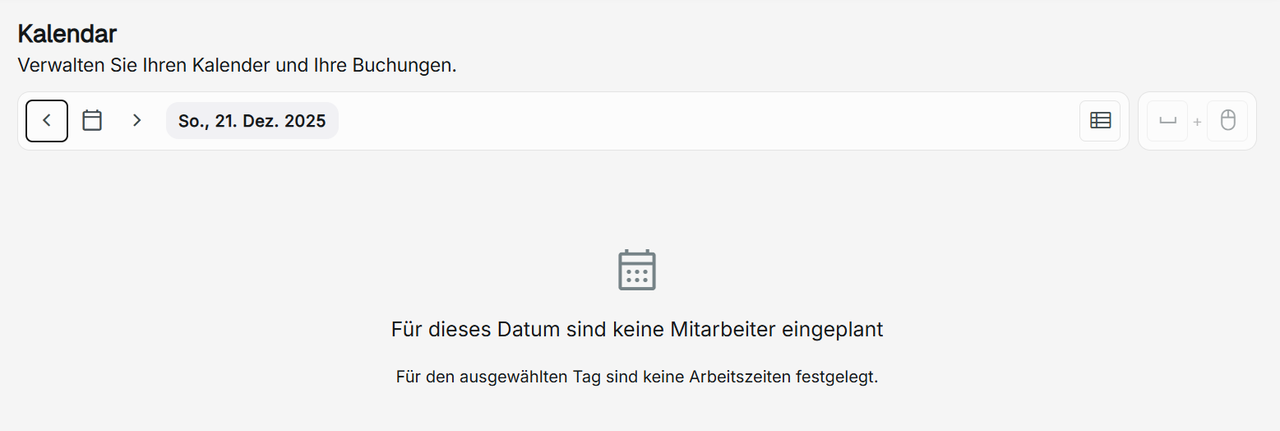
To view the calendar, either choose a day when the business hours are operating or update your operating business hours in either your organization settings or the branch's organization settings.
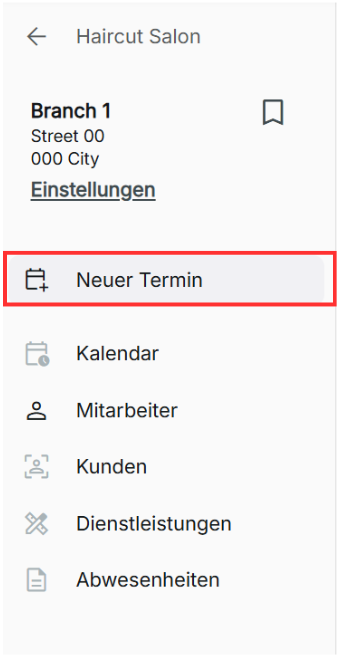
Adding a booking to my calendar
To add a booking appointment, click Add Event. A pop-up will appear where you can choose one of the services your organization offers, the employee who will carry out your service, the available date, the available time slot, the customer, and notes.
Alternatively, under the employee you wish to book for, click the desired time slot for your new event on one of the available time blocks on the calendar.
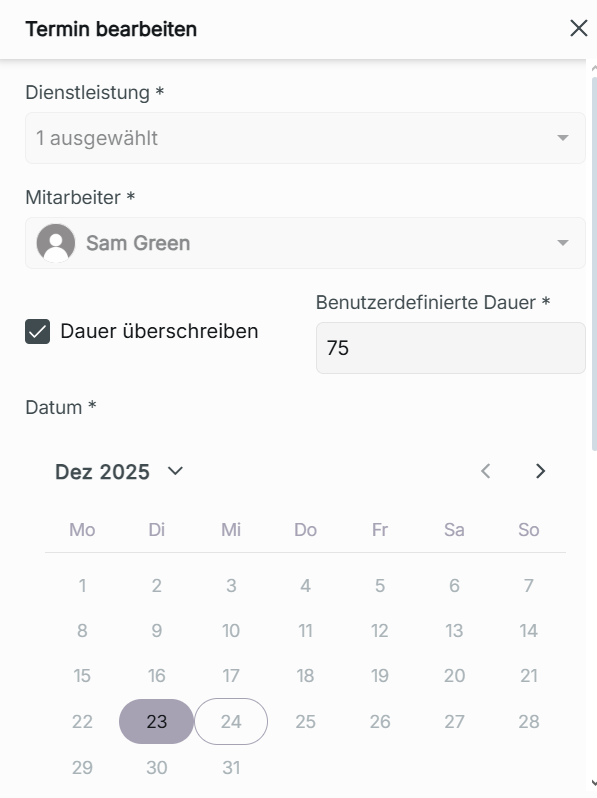
Service - You can choose 1 or more services for a singular booking event based on the availability of the booking hours.
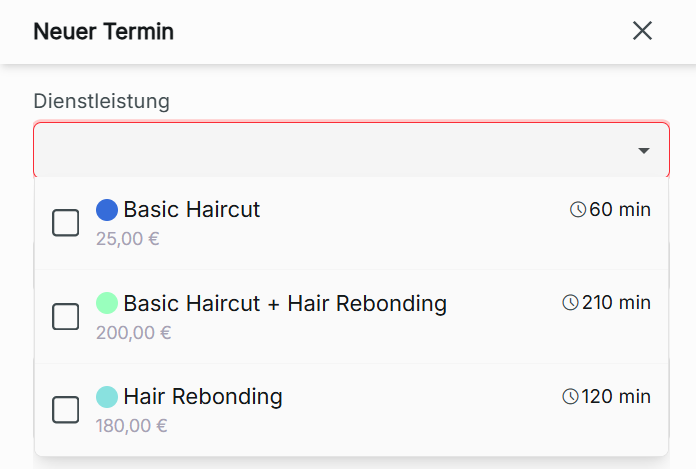
Override service duration – If the added event will take longer than the default scheduled duration, you can check the box to override service duration to create a custom duration. The value must be a multiple of 15 based on the calendar time blocks.

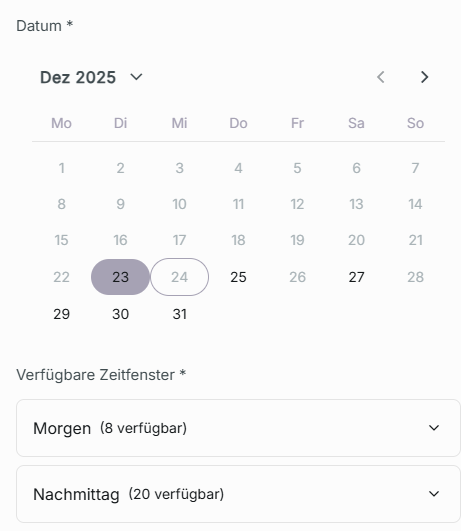
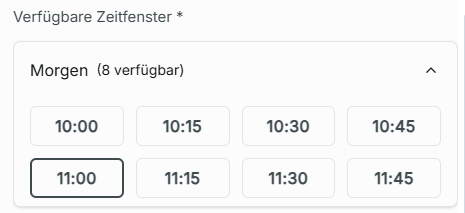
Date
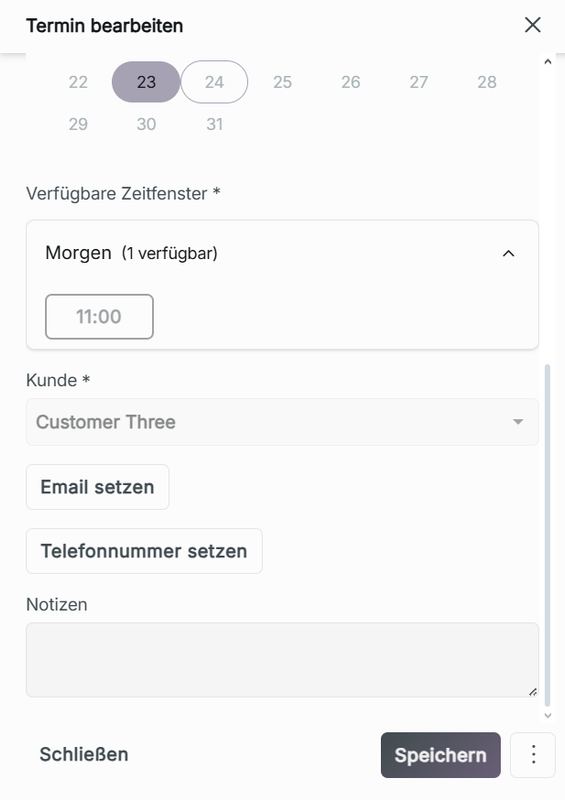
Choose the day and time of the appointment of the available time slots given the chosen service. You will be informed the amount of morning and afternoon appointments available of the chosen date.
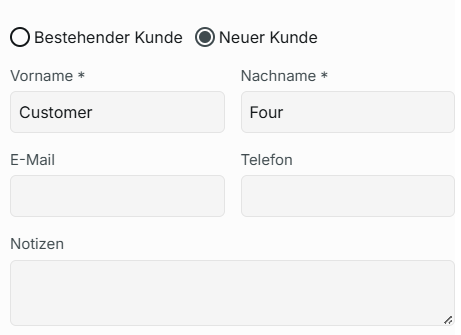
Existing Customer or New Customer
Either choose from an existing customer or add a new customer.

New customer
It is required to add the first and last name of your customer. While it is recommended, an email and phone number are not required. The email will be used to send booking reminders to your customer 24 hours before their appointment on the organization's side.
You can always later add your customer's email and phone number under "Customers" in your branch's organization or by using Edit Event.
Once you have set your customer's email and phone number after clicking Save to create a new event, this information cannot be removed or updated by any member of the organization.
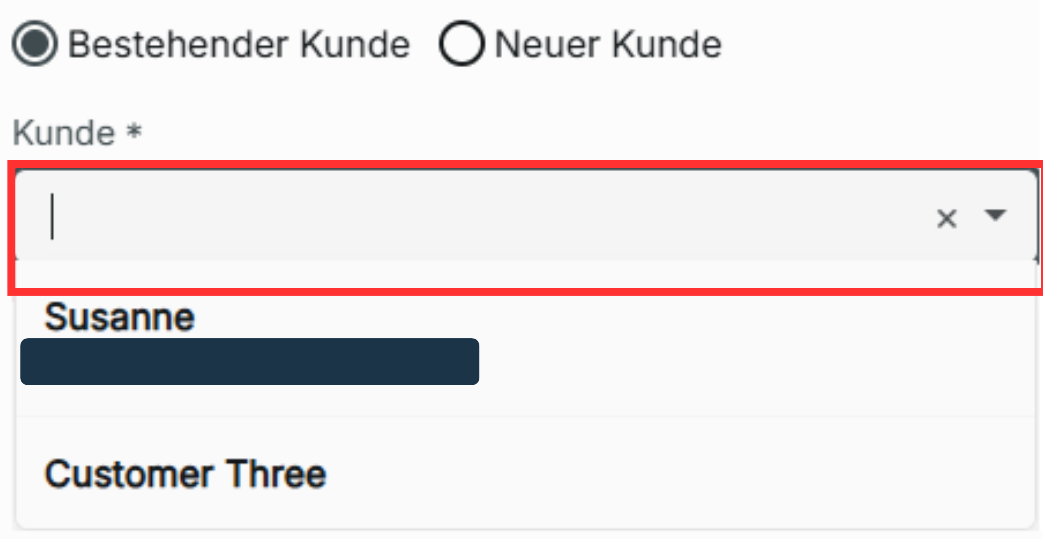
Existing customer
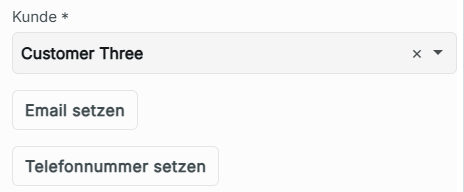
When choosing an existing customer registered in your organization, click on the drop-down menu bar to find the customer you are creating an event for. Alternatively, after clicking on the drop-down menu bar, you can use it as a search bar by typing in the name or email using your keyboard.
If your existing customer does not yet have a registered email or phone number, you can add it.
Once you have filled out the required information, click Save to update the calendar with your new event. You cannot change the customer once it has been set by creating a new event.

I was unable to register or edit an event
The employee selected already has an appointment or is unavailable during your desired appointment time and date.
I was unable to choose one of the employees
If you are unable to choose an employee, either select a different employee or a different date and time when your chosen employee is available.
Why is one of the employees unavailable?
If a service is unavailable for an employee, it is because the service is limited to only be booked by certain staff.
- The employee has an active absence request for the current date and time slot.
- The employee's status is currently inactive or hidden.
- The employee is unavailable for the selected date and time slot.
My desired time slot is not visible on the booking
If the time slot you want to select is not visible, another customer is already scheduled for that time and date by the employee.
Editing an appointment
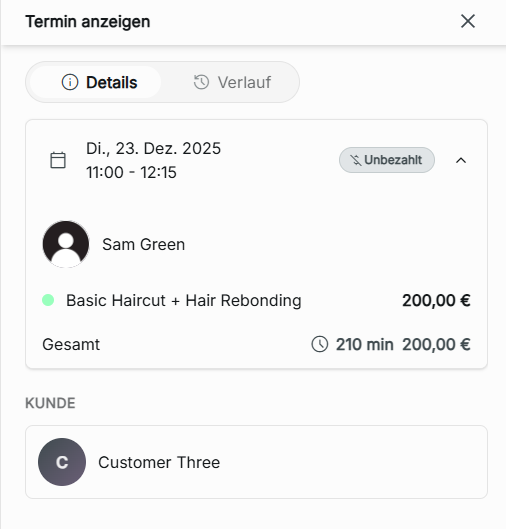
To edit an appointment, click on the registered time block of the event in the calendar. In the View Event pop-up window, you will view details of the event and history.
Details – View the date and time of the appointment, the employee being booked, services booked with the price, total price, duration of appointment, and the customer with their personal information if provided. The payment status of the appointment is also shown.
History – View the history of the appointment, which includes the time and date of the creation of the appointment, the time and date when every change was made to the appointment, the details of the edits made to the appointment, and the change in status of the appointment.
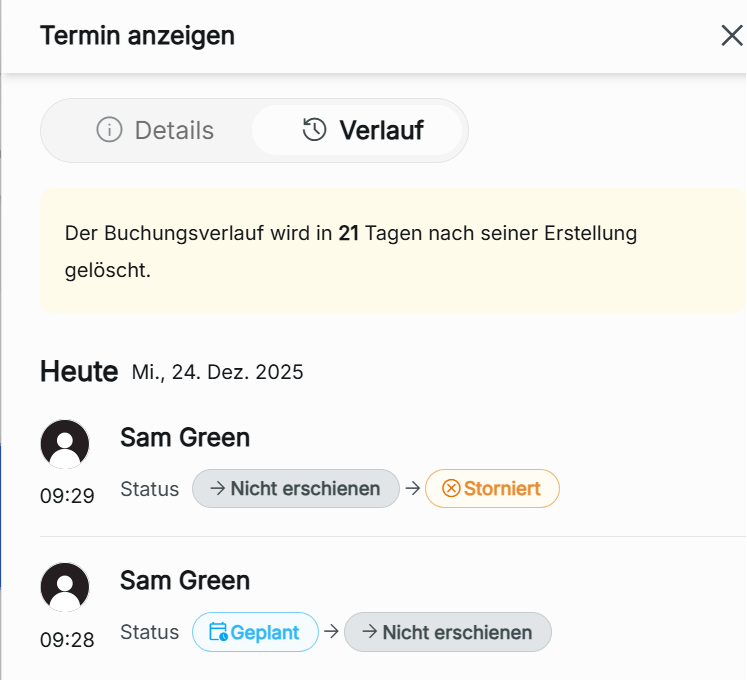
The history will also display the remaining days before the booking history of an appointment is cleared.

Statuses in Booking History
Scheduled – The appointment is an active booking that is set to have an appointment.
Checked-in – The appointment is an active booking where the customer has been checked in to the appointment. This status updates when the time of the appointment arrives on an active booking.
Completed – The appointment has been finished on the booking calendar.

Canceled – The appointment has been canceled by a staff user. While in this status, a new appointment can be booked in the date and time slot of the appointment.

No Show – The customer is marked as a no-show for the appointment by a staff user. While in this status, a new appointment can be booked in the date and time slot of the appointment.
Edit
By clicking Edit in View Event, you can choose to change the service(s) provided, the employee, override service duration, available time slots, date, and notes. You can also update the customer's email and phone by clicking "Set Email" and "Set Phone" under Customer Click Save at the bottom to update the booking.

You can also move edit the schedule a booking by dragging and dropping on an available time slot on the calendar.
Deleting or updating the status of an appointment
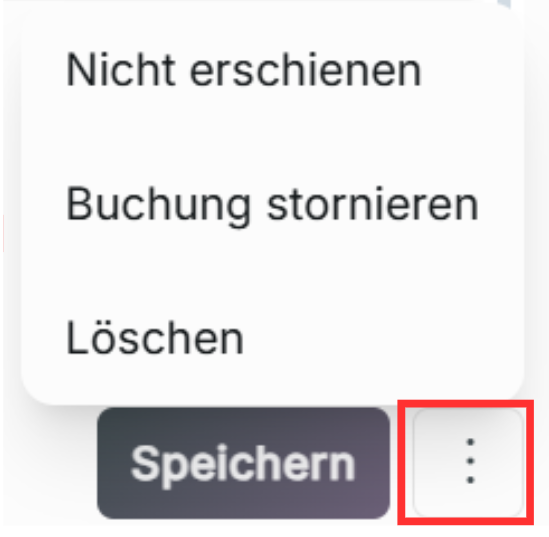
To delete an appointment or change the status, click on the booking you want to remove. In the pop-up view event, click Edit. Next, to save, click the 3-dot icon to choose between Delete, No Show, and Cancel Booking.
Delete – If you choose delete, this action cannot be undone and removes the appointment from the booking calendar. Only the admin or owner role can delete a booking.
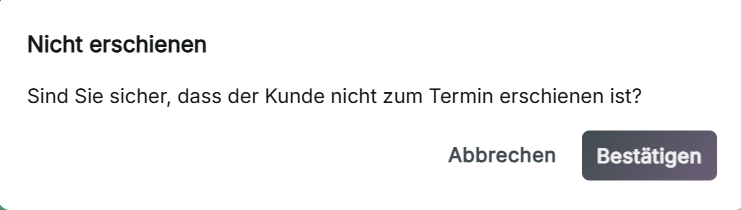
No show – For when the customer did not show up to the scheduled appointment. You can still update the status of the appointment by editing the booking details again.
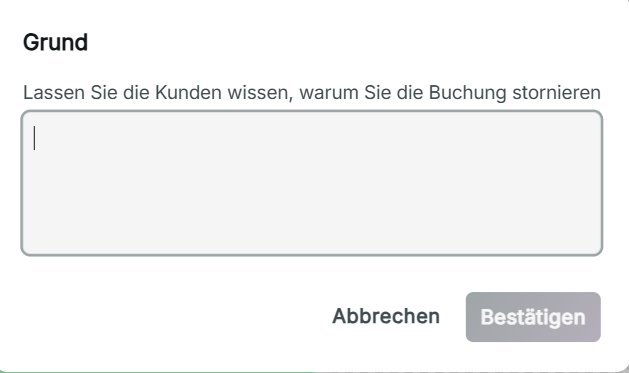
Cancel booking – When you choose to cancel booking, you can provide a reason that will be sent to your customer's email why the appointment has been canceled. Once an appointment is canceled, the status cannot be updated anymore. The booking will remain in the calendar.
Point of Sale
This is where you manage payments for the appointments in your booking calendar. You can view the status of your payment in View Event of any booking appointment, whether unpaid or paid.
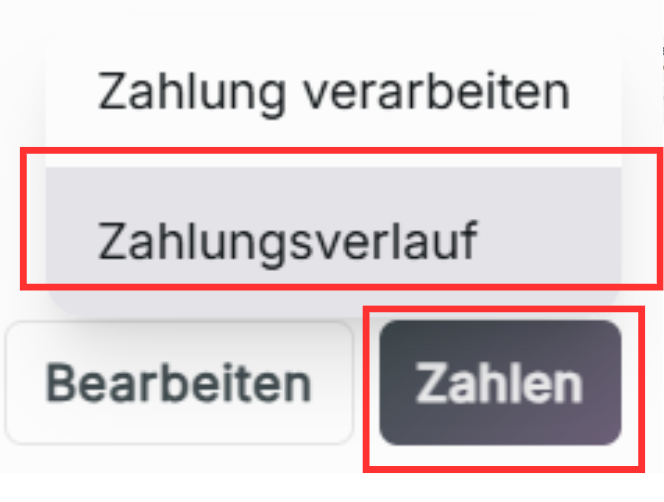
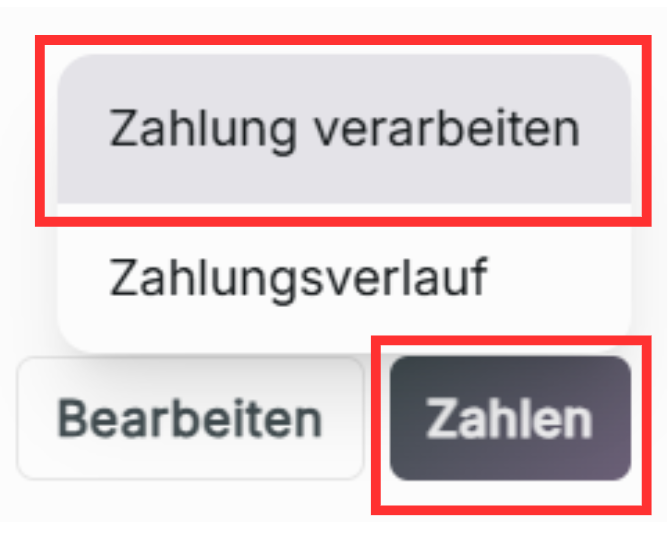
Process Payment
To make a payment, click Pay in View Event for your chosen appointment, then choose Process Payment.
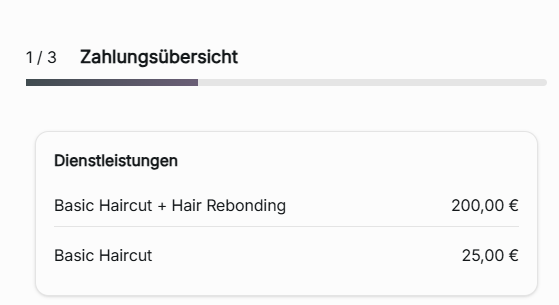
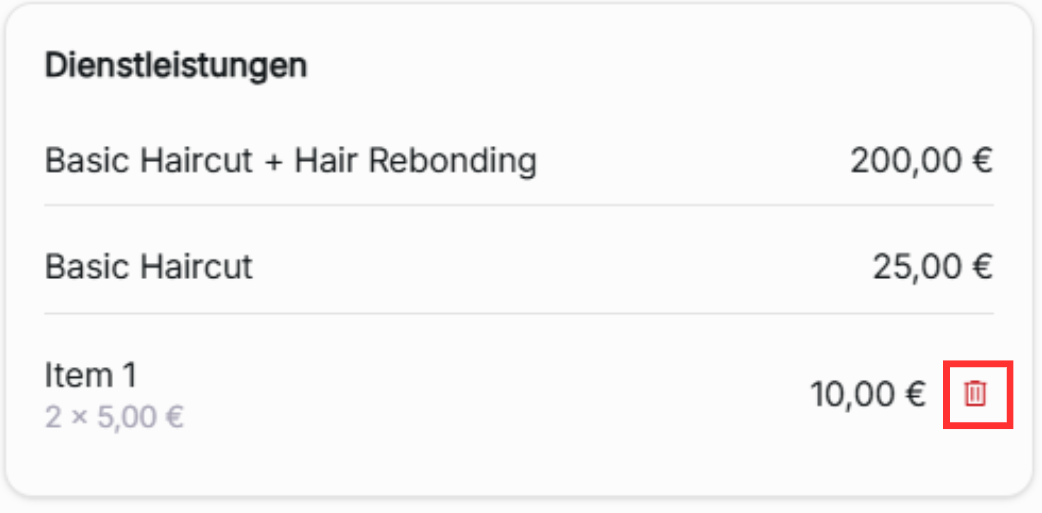
You will be taken to Payment Summary, which will display the services you are paying for with the price and the total from all the services and items, which are optional add-on payments if needed for the appointment. If an item is added, it will show the price and quantity of the item. The item can be deleted by clicking the delete icon next to the item.
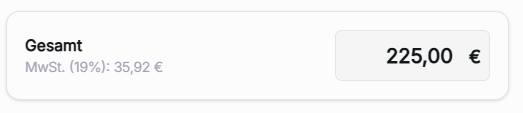
Total – Total amount to pay for the booking service
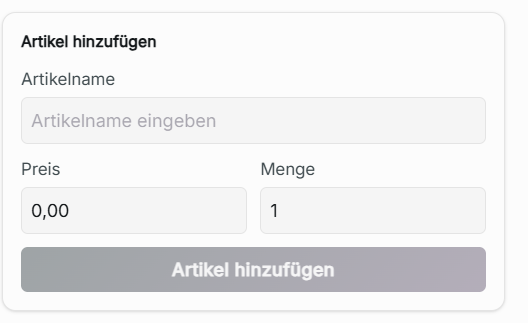
Add Item – Here you can provide the Item Name, the price of the item, and the quantity of the item. Click Add Item to update the total price of the booking appointment to be paid, as well as update the order summary. You can add as many items as needed using the same pop-up window, as the payment summary will automatically update with the items added or removed. If there are no additional charges for your service, you can choose to add no items.
Delete Item – While still in process payment, click the delete icon next to the item you wish to remove.
Payment History
This is where the history for the payments of the selected appointment can be viewed and managed. If there are no payments found for the booking, you can click Process Payment to pay.